
Dehancer Film Emulation

Dararat capturing stabilised F-Log footage for the Dehancer grading process
For those who may not know, Dararat is responsible for all behind-the-scenes imagery on DRobertsPhoto, including those used in FUJILOVE Magazine and Fuji X Passion, as well a video content such as the Japan Camera Hunter x BBK Collective collaboration. Recently, I have given Dararat more responsibility within DRobertsPhoto and this collaborative article marks her first fully authored piece. Dararat planned, scoped, contacted, executed, edited, graded, and wrote the article — with only final check done by myself.
Graded with Dehancer Film Emulation Kodak Aerocolor IV 125 │ 65mm │ISO 50
บันทึกการถ่ายทำ “โรงปั้นพระ” ที่อุดรธานี กับโทนฟิล์มที่ได้จาก Dehancer
Documenting the Buddha Sculpture Workshop in Udon Thani, Thailand with Dehancer Film Looks In Udon Thani Province, Thailand.
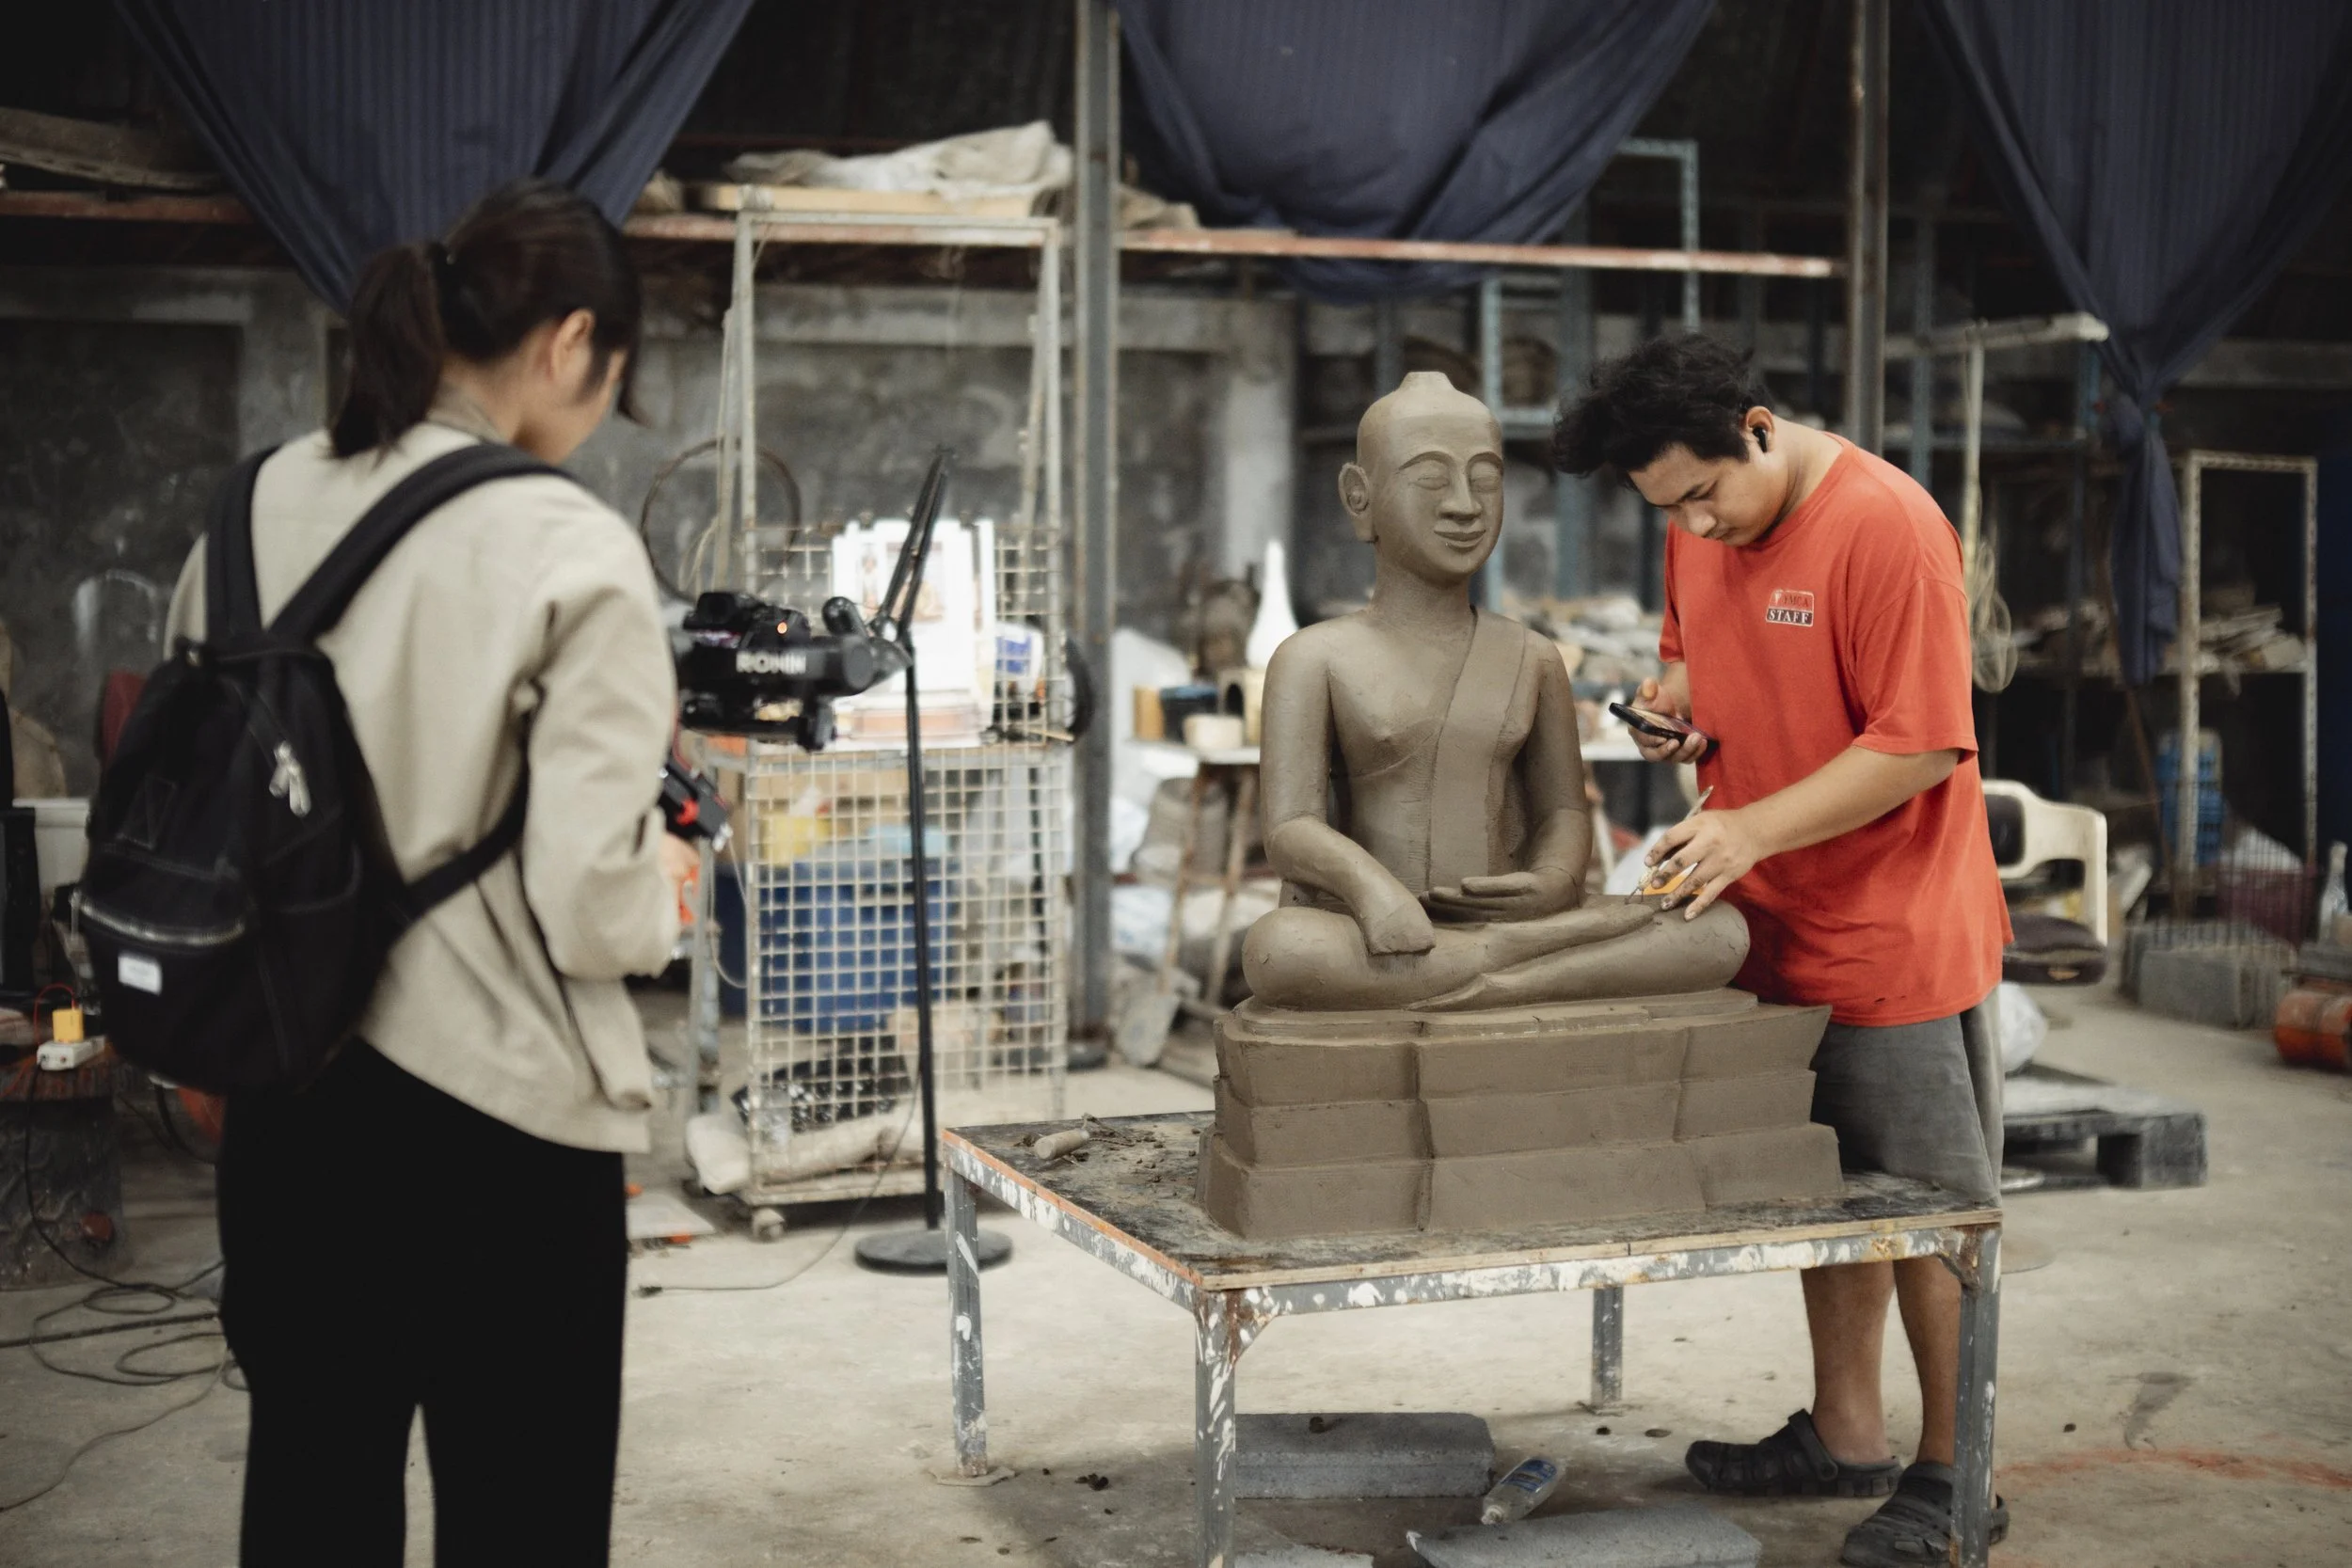
Dararat captures the artisan working on the initial clay carving, a process that can take up to a month when done by hand
ที่จังหวัดอุดรธานี มีสถานที่แห่งหนึ่งที่หลายคนอาจไม่รู้จัก แต่สำหรับฉันแล้ว มันมีเสน่ห์และความน่าสนใจอย่างมาก “โรงปั้นพระ” ตำบลบ้านจั่น อำเภอเมือง จังหวัดอุดรธานี ที่นี่เป็นพื้นที่สำหรับการสร้างพระพุทธรูป ไม่ว่าจะเป็นพระประธานขนาดใหญ่ หรือพระพุทธรูปองค์เล็ก ๆ ที่ผู้คนตั้งใจจะนำไปถวายวัดหรือเก็บไว้บูชาที่บ้าน
ฉันมีโอกาสติดต่อไปยังสถานที่แห่งนี้เพื่อขออนุญาตถ่ายวิดีโอ ถึงแม้เจ้าของจะไม่สะดวกให้สัมภาษณ์ แต่ก็อนุญาตให้ฉันเก็บภาพบรรยากาศได้อย่างเต็มที่ และนั่นก็เพียงพอสำหรับฉันที่จะเล่าเรื่องผ่านภาพวิดีโอและสีสันที่สื่ออารมณ์
In Udon Thani Province, Thailand, there's a place not widely known but full of artistic and cultural value — the Buddha Sculpture Workshop located in Ban Chan Subdistrict. This is where artisans sculpt Buddha statues, whether commissioned for temples or for personal offerings. I found this place incredibly fascinating and decided to contact the owner to ask for permission to film.
Although the owner wasn't available for an interview, he kindly allowed me to take both photos and videos of the process. I was able to capture the sculptors in action — refining every detail by hand, turning clay and moulds into sacred art. It was a beautiful blend of craftsmanship and spiritual devotion.

The DJI Ronin is an essential tool for capturing the perfect editing base
สำหรับการถ่ายทำครั้งนี้ ฉันเลือกใช้กล้อง Fujifilm X-T5 คู่กับเลนส์ XF 35mm F1.4 เพราะมั่นใจว่าการถ่ายในพื้นที่ภายในที่มีแสงจำกัดนั้น เลนส์ตัวนี้จะให้ผลลัพธ์ที่ดี ทั้งยังเคยใช้เลนส์ตัวนี้ถ่ายภาพนิ่งมาก่อนและชื่นชอบในโทน
ในด้านการเคลื่อนไหวของภาพ ฉันใช้งาน DJI Ronin RS3 เป็นกันสั่น แม้จะยังไม่คล่องนักเพราะไม่ค่อยได้ใช้งานบ่อย แต่ก็พยายามปรับตัวให้ชินกับมันมากขึ้น ซึ่งถือว่าเป็นการฝึกฝนไปในตัว
For this shoot, I chose to use the Fujifilm X-T5 with the XF 35mm F1.4 lens. Since the workspace was indoors with limited light, this lens was perfect for the situation. I’ve used it before for photography and always appreciated its rendering and depth.
To stabilize my shots, I used the DJI Ronin RS3 gimbal. I don't use gimbals often, so I’m still getting used to the workflow. While I wasn’t completely comfortable moving with it yet, this was a great opportunity to practice and improve. I’m determined to get better at using it for future shoots.
F-Log base footage vs Dehancer ‘s Aerocolor IV base LUT (with hand adjustments by Dararat)
ฉันถ่ายวิดีโอครั้งนี้ใน F-LOG และหลังจากได้ไฟล์มา ฉันรู้สึกพอใจกับภาพรวมของงานประมาณ 80% อีก 20% ที่เหลือยังมีจุดที่ต้องปรับปรุง โดยเฉพาะการจัดแสงและการเคลื่อนไหวที่ยังไม่ลื่นไหลเท่าที่ควร
มาถึงขั้นตอนที่ฉันชอบที่สุด การเกรดสี ครั้งนี้ฉันเลือกใช้ Dehancer ในการแต่งวิดีโอให้มีโทนฟิล์มแบบที่ต้องการ โดยเริ่มจากการเลือกกล้องเป็น — Camera: Fujifilm X-T5 / F-LOG Film Profile: Kodak Aerocolor IV 125 Film Grain: 65mm ISO 50 เพียงแค่ปรับไม่กี่อย่าง ฉันก็ได้มู้ดฟิล์มที่ต้องการแล้ว — ฟีลลิ่งของภาพที่ดูนุ่มนวล ละมุน และมีคาแรคเตอร์แบบงานฟิล์มดั้งเดิม ซึ่งเป็นสิ่งที่ฉันอยากให้วิดีโอนี้สื่อออกมา
I filmed everything in F-LOG, and once I brought the footage into post-production, I was about 80% satisfied with the results — the footage looked beautiful. However, the first 20% still had issues with lighting and camera movement due to the learning curve with the gimbal.
Now to my favourite part — colour grading. For this project, I used Dehancer to give the video a true film-like feel. I started by setting the input to Camera: Fujifilm X-T5 / F-LOG Film Profile: Kodak Aerocolor IV 125 Film Grain: 65mm ISO 50. Just with these few settings, I got the film mood I was looking for — soft, rich, and full of character. Dehancer brought out the atmosphere I wanted the video to convey.

Dehancer Pro workflow within Adobe Premiere Pro for Mac
นอกจากฟีเจอร์พื้นฐานแล้ว Dehancer ยังมีฟังก์ชั่นให้เลือกใช้อีกมากมาย เช่น Halation, Bloom, Print Emulation, Vignette ฯลฯ ซึ่งช่วยเพิ่มลูกเล่นให้วิดีโอดูมีมิติ แต่สำหรับงานนี้ ฉันเลือกใช้องค์ประกอบเพียงเท่าที่จำเป็น เพื่อรักษาบรรยากาศความเรียบง่ายของโรงปั้นพระเอาไว้
หากคุณอยากลองแต่งวิดีโอให้ได้ฟีลฟิล์มแบบฉัน สามารถเข้าไปทดลองใช้ Dehancer ได้ที่เว็บไซต์ของเขาเลยค่ะ มีปลั๊กอินให้ใช้ทั้งใน DaVinci Resolve, Final Cut Pro, และ Adobe Premiere Pro
Besides these essential tools, Dehancer offers a wide range of additional features like Halation, Bloom, Print Emulation, and Vignette, which can give your footage even more personality. But for this video, I kept things minimal to preserve the natural ambiance of the sculpting studio.
If you’re interested in achieving a similar filmic look in your videos, I highly recommend trying out Dehancer. You can download and explore it via their official website. It supports DaVinci Resolve, Final Cut Pro, and Adobe Premiere Pro.
Article and associated assets by Dararat Phetkon for DRobertsPhoto — original Thai transcript translated by ChatGPT and refined by David Roberts
Thank you to โรงปั้นพระอุดรธานี for allowing us to film, and to Dehancer Film Emulation for providing a lifetime Dehancer Pro for Adobe Pr key